Overview
Learning Mode is Sensei’s approach to providing a distraction-free experience to students and allowing course creators to choose a modern layout for their courses. Sensei LMS, together with Sensei Pro, includes four different layouts to choose from. Moreover, course creators can customize each layout or build their own from scratch.
WordPress’ Site Editor allows designing the whole site using blocks, not just the post content. Learning Mode builds upon the Site Editor to allow course creators to leverage its advantages without requiring a block theme to be installed. Site editing features are available for lessons only without affecting the rest of the site.
In this tutorial, we are going to learn about how you can customize the Learning Mode templates, what Sensei already provides for you, and even how you can create your own templates.
How to Enable Learning Mode
There are two ways to enable Learning Mode, enable it on a per-course basis, or you can enable it for all courses. Learning Mode is enabled by default for all courses on new Sensei installations.

To enable it for a single course, only visit the course. In the Settings Sidebar to the right, select the ‘Course’ settings and open the ‘Learning Mode’ panel. You can preview how the lessons will look like by clicking ‘Preview’. To enable Learning Mode, click the toggle and then ‘Update’. This will update the layout for all the course’s lessons. The course layout will be unaffected.
Alternatively, you can enable Learning Mode for all courses by visiting Sensei LMS > Settings > Appearance tab > Appearance section, Learning Mode checkbox “Enable for all courses”.
You can also choose which Learning Mode layout to use in the Appearance tab. Clicking on ‘Preview’ will bring up a pop-up with a detailed layout image. Sensei LMS Free includes only one layout, with more options available in Sensei Pro.
Below, we will look into how to apply your customizations to Learning Mode templates.
Learning Mode Templates
We include four different Learning Mode templates in Sensei Pro. The Default template is available in the free Sensei LMS plugin as well.
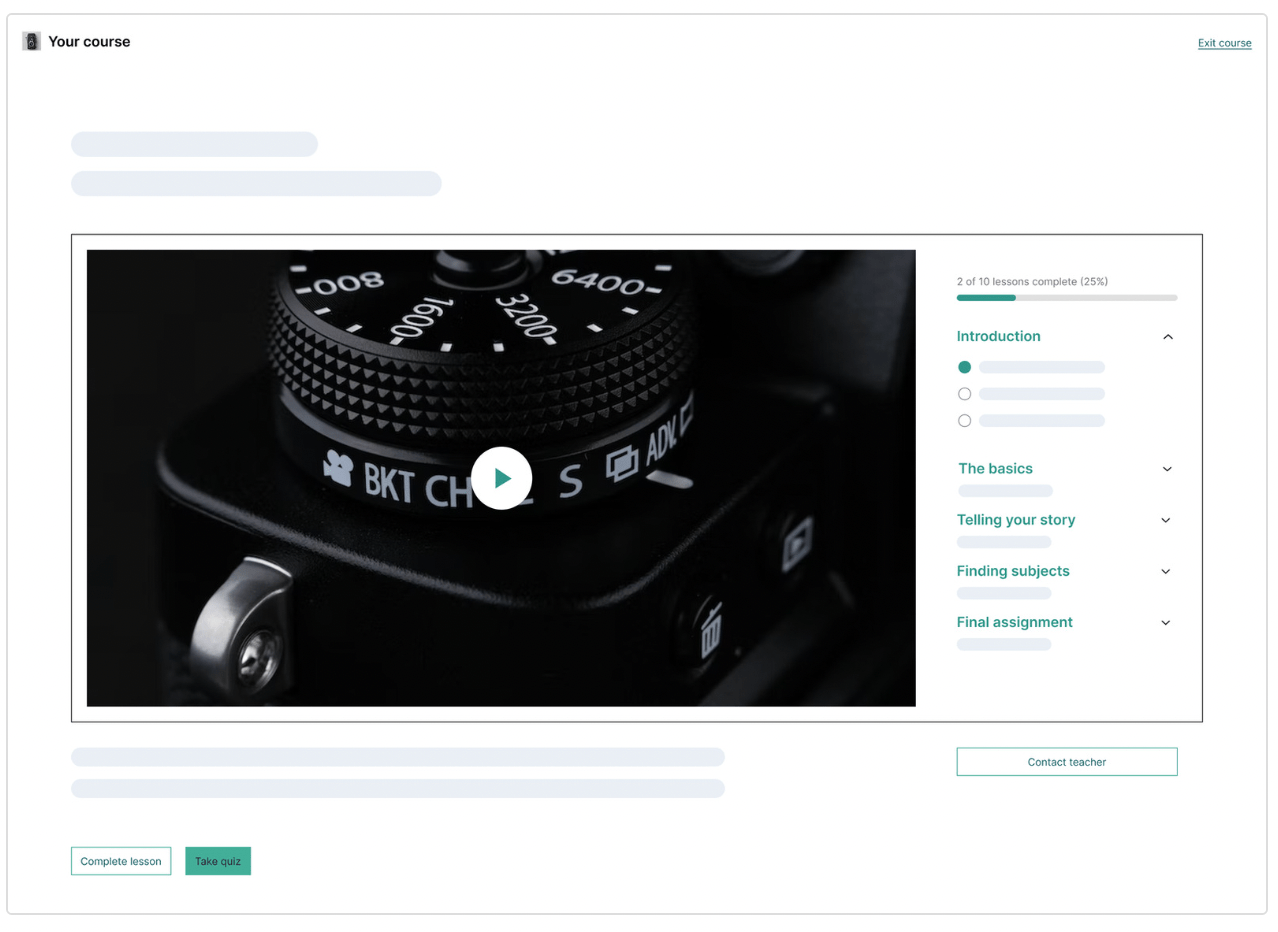
Default Template
The Default Template is a clean, polished, minimal template that works great for all courses. Its layout consists of a two-column main body with the Course Navigation Block on the left side and the course main content on the right. The top has your site’s branding alongside the Course Progress Bar, and below, you’ll see the Course Actions.

This template is built with both custom Sensei blocks and some core layout blocks like group, post title, and post content blocks.
These are the Sensei blocks on this template:
sensei-lms/ui, sensei-lms/course-title, sensei-lms/course-theme-course-progress-counter, sensei-lms/exit-course, sensei-lms/sidebar-toggle-button, sensei-lms/course-theme-course-progress-bar, sensei-lms/course-navigation, sensei-lms/spacer-flex, sensei-lms/button-contact-teacher, sensei-lms/course-theme-lesson-module, sensei-lms/course-theme-notices, sensei-lms/course-theme-lesson-actions and sensei-lms/page-actions.
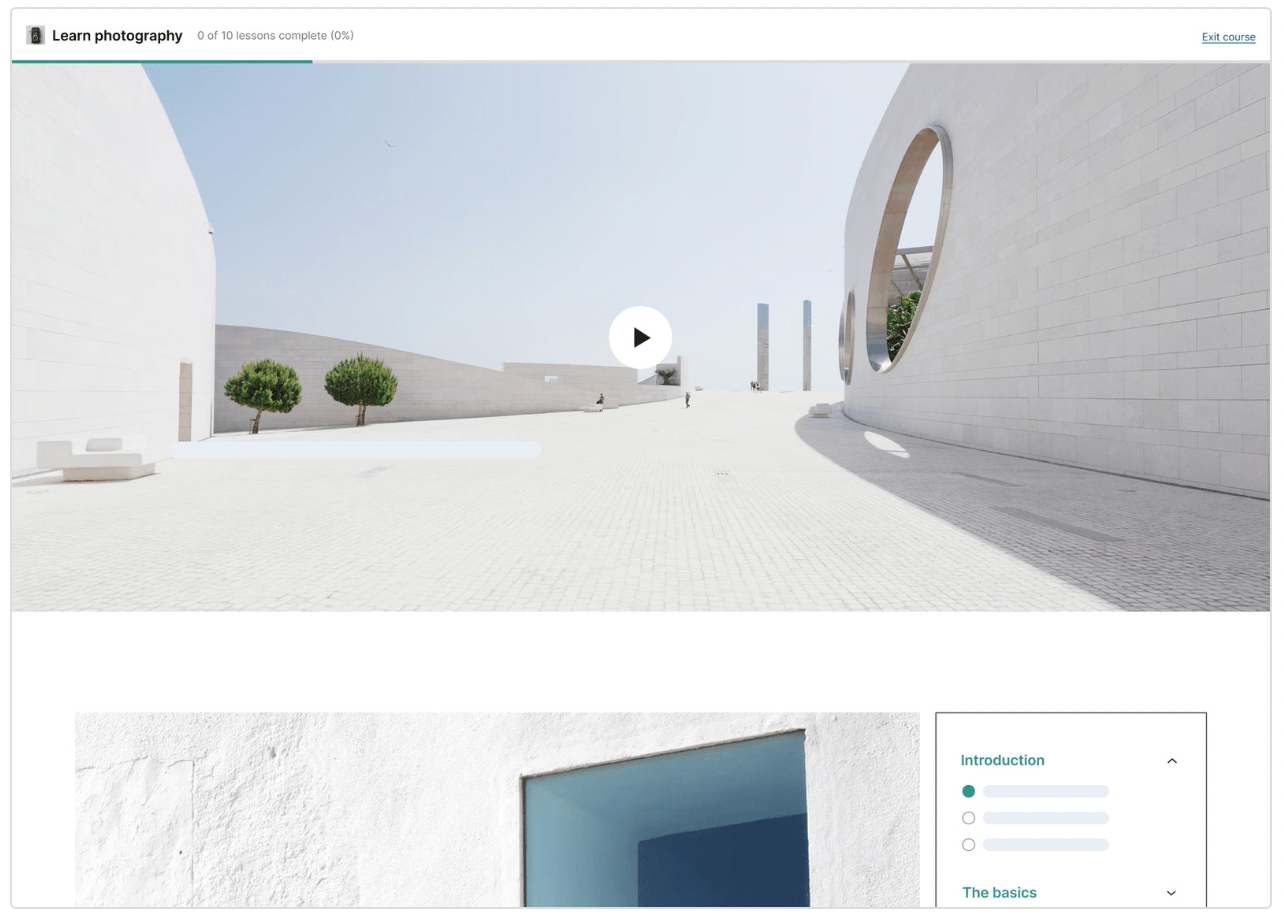
Modern Template
This minimalistic modern template displays the course summary, top bar, featured video (if available), course time approximation, and difficulty level on the right side.
The Modern template’s approach of content first will be a great distraction-free option for your course. This template also features the Lesson Video Block displayed in the main content area at the top.
Note: To use this block, you will need to use the Featured Video Block in the course editor.

This template is built with both custom Sensei blocks and some core layout blocks like group, columns, column, post title, and post content blocks.
In addition to the blocks in the default theme, we also include the sensei-lms/course-theme-lesson-video block, which is responsible for rendering the featured video block.
Note that this block is not the featured video block in the editor and is meant to be used only in the templates to detect and render the featured video block.
Video Template
This template features immersive video content that takes the full width of the page. The course summary moves to the right as a kind of playlist, and students can navigate between video lessons and track their progress. This template also includes the top bar course information.
This template is built with both custom Sensei blocks and some core layout blocks like group, columns, column, post title, and post content blocks.
Like the modern template, this template also includes the sensei-lms/course-theme-lesson-video block, which renders the featured video block if one was added to the template.
Large Video Template
With the Large Video template, the Featured Video Block will display the full width of the page, with the course summary moving underneath. The course summary will become “sticky” after the user starts scrolling further.
This template uses the same blocks as the video template. Like the modern and video templates, this template also includes the sensei-lms/course-theme-lesson-video block, which renders the featured video block if one was added to the template.
Customizing Learning Mode
The Site Editor allows creators to modify and create layouts shared between pages and posts. Each layout is called a Template, and every change done to a Template will reflect on all pages and posts.
Although this guide will teach you the basics of using the Site Editor, this is the official guide from where you can learn more about it.
Sensei’s Learning Mode is built using the Site Editor; every layout is essentially a Site Editor Template. To see all available Templates, you can visit ‘Appearance’ > ‘Editor’, click the icon in the top left corner and select ‘Templates’.

In the above example, this site has two Templates from Sensei and three Templates from the Twenty Twenty-Two theme. If you are not using a block theme, only the Templates from Sensei are going to be available.
Clicking on a Template will open it on the Site Editor to customize it. Similarly with posts, to save the changes, click ‘Update’.

A customized Template icon will appear with a blue dot on top of it. In the dropdown menu, you can revert all customizations and return to the Template’s original state. Be careful, as your changes are going to be lost permanently.
Customizing the Template’s blocks
Any Template is comprised of blocks in a similar way to the post content. When you add a block to a Template, this block will appear in every post that uses this template.
WordPress provides Theme Blocks to allow users to add content which is relevant for many pages and posts. One example is the Post Content block, which is a placeholder in the Site Editor. However, its contents will be replaced with the actual post content in the front end.
Other examples of such blocks include the Post Title or the Site Logo. In this section, we will learn how to rearrange, add, and remove blocks to a Template.
The List View
The List View displays all the blocks included in a Template hierarchically.

Sensei’s Site Editor blocks have a green color.
This is a locked block. Sensei developers will generally mark blocks as locked in cases where removing and/or moving the block will break part of Sensei’s functionality. Only unlock a block if you are aware of the consequences.
Hierarchy levels are seperated by indents. In this specific case, the ‘Fixed Header’ block contains ‘Row’ and ‘Course Progress Bar’ blocks. The ‘Row’ in turn contains two other ‘Rows’.
Use this button to open or close the List View.
The List View
The List View is a very useful tool for analyzing the blocks contained in a Template. For example, in the above image the basic blocks for the default Learning Mode layout are displayed.
On top is the Fixed Header, which contains a Row with buttons, the course title, and the Course Progress Bar beneath it.
The rest of the page is defined by a Two-column Layout, which contains the Sidebar and the lesson’s Main Content. You can click on the image’s hotspots for a few more details.
Removing and Adding blocks
Learning Mode templates try to include the Sensei components that make sense for most users.
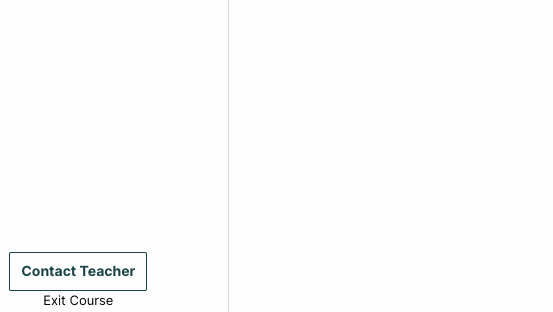
However, some of the components might not suit your needs. For example, suppose that you don’t want to allow the students to contact you, and you need to remove the ‘Contact Teacher’ block.
Here’s how to remove it:
- Select the block either in List View or in Site Editor.
- Open the dropdown menu.
- Select the option ‘Remove’ followed by the block name.
Now let’s suppose you want to use the empty space to promote another page by adding a button.
To add a block, you can either use the ‘+’ button or add it closely to another block. More specifically:
- Select an adjacent block.
- Open the dropdown menu.
- Select ‘Insert before’ or ‘Insert after’
- Type ‘/’ and the block name you want to add.

Rearranging blocks
Blocks can also be rearranged to change the Learning Mode layout. You can rearrange blocks using either drag and drop or the move buttons.
Alternatively, you can use List View with the added benefit that you will gain a better understanding of the resulting block hierarchy.
